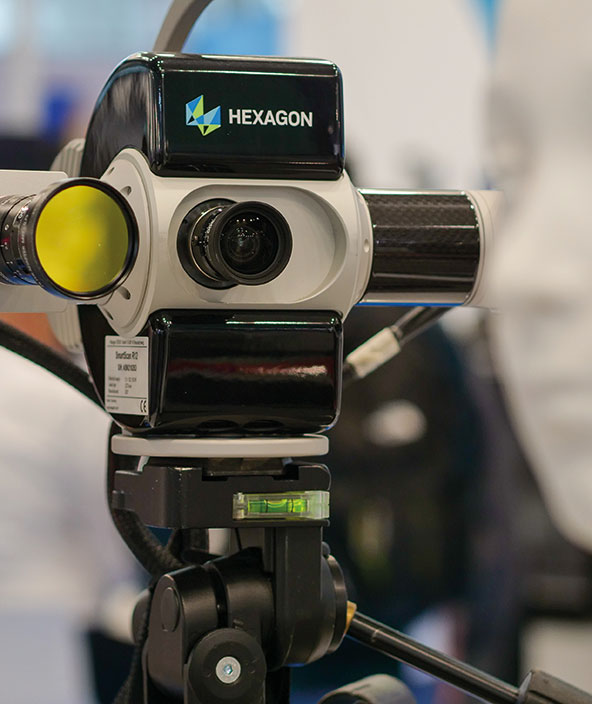
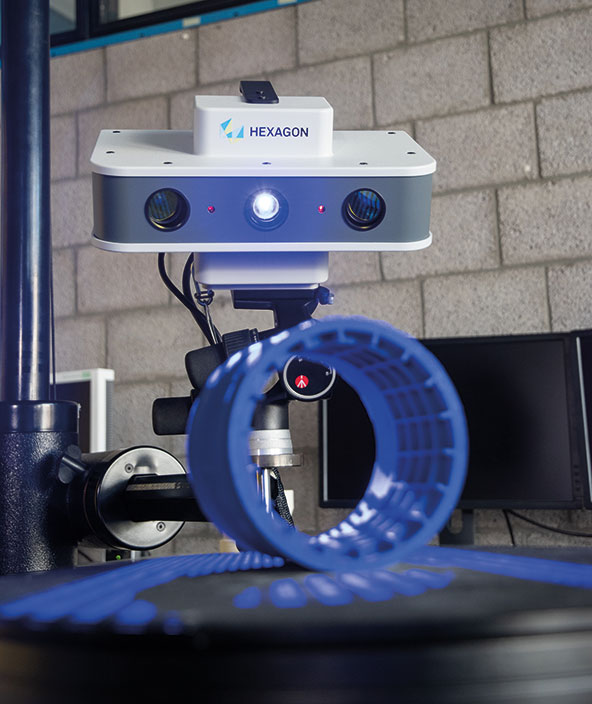
Modern scanning technology for various scanning tasks
For more than 25 years, ITW Chemnitz has been using 3D scanners from Hexagon to develop innovative technologies.
Contact us

ITW Chemnitz was founded in 1992 as one of the first private research institutes established in Saxony after German reunification. As an application-oriented and industry-related research and service institution, it has since been involved in the development of innovative technologies for the automotive industry, special engineering, plant manufacturing and toolmaking, as well as in the areas of arts, culture and musical instrument making.
 With the establishment of a 3D measurement laboratory within the institute, ITW Chemnitz developed competence in 3D digitisation and metrology at a very early stage. In 1995, the business purchased the first model of the then new optoTOP system, made for use with a coordinate measuring machine. This predecessor of modern 3D scanners was the first system based on newly patented miniaturised projection technology, which is used in an improved form in some of Hexagon’s structured light scanners today.
“ITW was one of the first companies in Saxony to have this measuring technology,” explains Rico Bolz, project engineer at ITW Chemnitz. “Now former customers of ours have purchased 3D scanners from Hexagon themselves and only need our help with the preparation of the 3D data. But we’ve been involved from the very beginning.”
Since this first experience, ITW has purchased seven 3D scanners from the Hexagon range. Two have since been sent to El Salvador and Costa Rica as part of the develoPPP.de1 programme to help introduce digital manufacturing processes for rapid prototyping and product development.
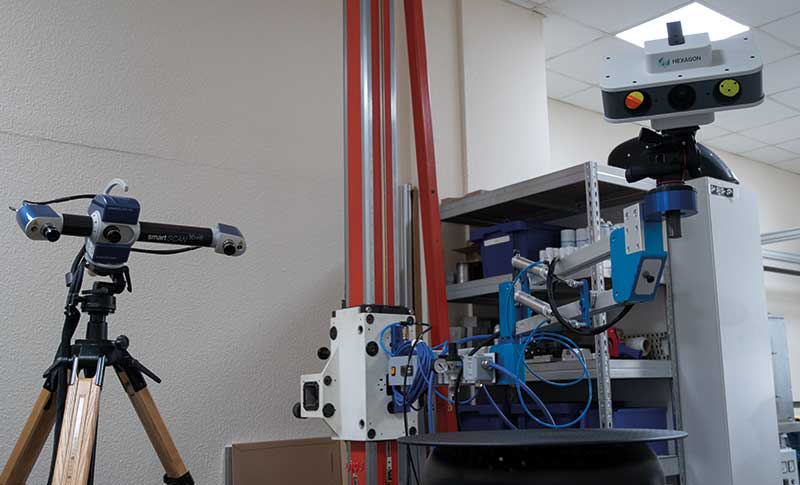
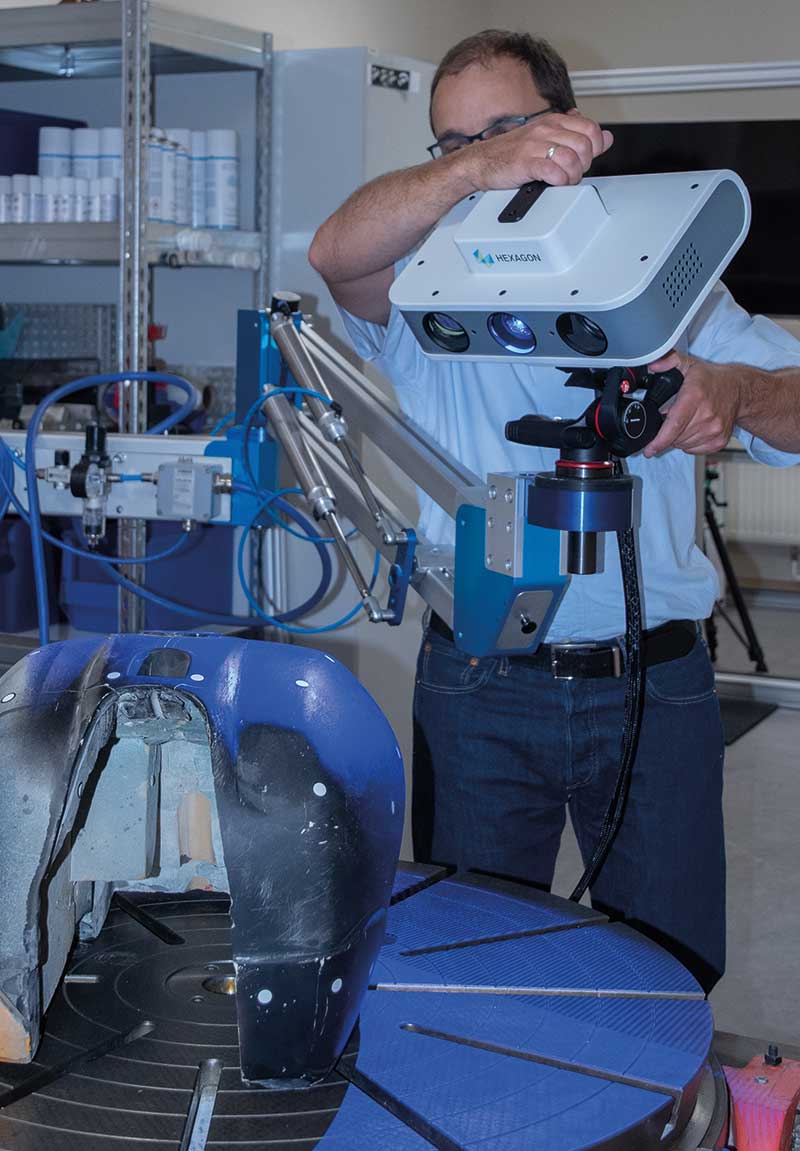 In 2009, the ITW acquired one of the first systems of the then newly released SmartScan product line, which with four different measuring fields is still in use today in the 3D measurement laboratory. In 2019 ITW decided to purchase two additional PrimeScan systems with measuring fields of 100 and 450 millimetres as part of an investment project. “We liked the fixed measuring field concept of the PrimeScan. Now all we have to do is change the plug and we can use both measuring fields at the same time,” explains Falk Mierisch, systems engineer at ITW Chemnitz.
The different measuring fields provide the 3D measuring laboratory with the necessary flexibility to cope with a wide variety of 3D digitisation jobs. The lab mainly supports the various research projects of ITW Chemnitz by obtaining accurate 3D data, but is also responsible for quality assurance and management of the projects.
“We also take on 3D digitisation for customers as a service – from scanning to data preparation for integration into CAD systems,” explains Bolz. “The majority of these customers are associated with the automotive industry. These are tool and mould makers, but also restorers, model makers or customers from the glass industry. We have even scanned wooden parts, for example from musical instrument making or stonemasonry. In the last 10 years, we haven’t had a single part duplicated.”
The accuracy requirements demanded vary greatly due to the diversity of the measurement objects, “but an accuracy requirement of just a tenth of a millimetre is the rule,” explains Bolz.
Apart from the long partnership and the convincing support, the price was also a decisive argument, as Mierisch admits. “The technical support, our longstanding cooperation with Hexagon and the attractive price-performance ratio of PrimeScan: all of this together convinced us”.
1 With the develoPPP.de programme, the German Federal Ministry for Economic Cooperation and Development aims to support the involvement of private companies in developing and emerging countries by promoting innovative projects.
 With the establishment of a 3D measurement laboratory within the institute, ITW Chemnitz developed competence in 3D digitisation and metrology at a very early stage. In 1995, the business purchased the first model of the then new optoTOP system, made for use with a coordinate measuring machine. This predecessor of modern 3D scanners was the first system based on newly patented miniaturised projection technology, which is used in an improved form in some of Hexagon’s structured light scanners today.
“ITW was one of the first companies in Saxony to have this measuring technology,” explains Rico Bolz, project engineer at ITW Chemnitz. “Now former customers of ours have purchased 3D scanners from Hexagon themselves and only need our help with the preparation of the 3D data. But we’ve been involved from the very beginning.”
Since this first experience, ITW has purchased seven 3D scanners from the Hexagon range. Two have since been sent to El Salvador and Costa Rica as part of the develoPPP.de1 programme to help introduce digital manufacturing processes for rapid prototyping and product development.
Convincing technology for diverse scanning projects
 In 2009, the ITW acquired one of the first systems of the then newly released SmartScan product line, which with four different measuring fields is still in use today in the 3D measurement laboratory. In 2019 ITW decided to purchase two additional PrimeScan systems with measuring fields of 100 and 450 millimetres as part of an investment project. “We liked the fixed measuring field concept of the PrimeScan. Now all we have to do is change the plug and we can use both measuring fields at the same time,” explains Falk Mierisch, systems engineer at ITW Chemnitz.
The different measuring fields provide the 3D measuring laboratory with the necessary flexibility to cope with a wide variety of 3D digitisation jobs. The lab mainly supports the various research projects of ITW Chemnitz by obtaining accurate 3D data, but is also responsible for quality assurance and management of the projects.
“We also take on 3D digitisation for customers as a service – from scanning to data preparation for integration into CAD systems,” explains Bolz. “The majority of these customers are associated with the automotive industry. These are tool and mould makers, but also restorers, model makers or customers from the glass industry. We have even scanned wooden parts, for example from musical instrument making or stonemasonry. In the last 10 years, we haven’t had a single part duplicated.”
The accuracy requirements demanded vary greatly due to the diversity of the measurement objects, “but an accuracy requirement of just a tenth of a millimetre is the rule,” explains Bolz.

Partnership right from the start
The decision to invest in the two new PrimeScan systems was not difficult for the 3D measurement lab at ITW. Right from the start, the lab has been working with 3D scanners that have been manufactured in Meersburg on Lake Constance since 1986, and a continuation of this successful relationship was the most sensible option for the business. “We’re very satisfied with our cooperation with Hexagon,” says Mierisch. “If we have a problem, we call briefly and quickly receive uncomplicated help.”Apart from the long partnership and the convincing support, the price was also a decisive argument, as Mierisch admits. “The technical support, our longstanding cooperation with Hexagon and the attractive price-performance ratio of PrimeScan: all of this together convinced us”.
1 With the develoPPP.de programme, the German Federal Ministry for Economic Cooperation and Development aims to support the involvement of private companies in developing and emerging countries by promoting innovative projects.
