HP-C Vision sensor

Bringing vision to your CMM

HP-C Vision Sensor

Ready to get started?

Talk to an expert and discover what Hexagon can do for your organization.
The power of non-contact multisensor measurement on a coordinate measuring machine

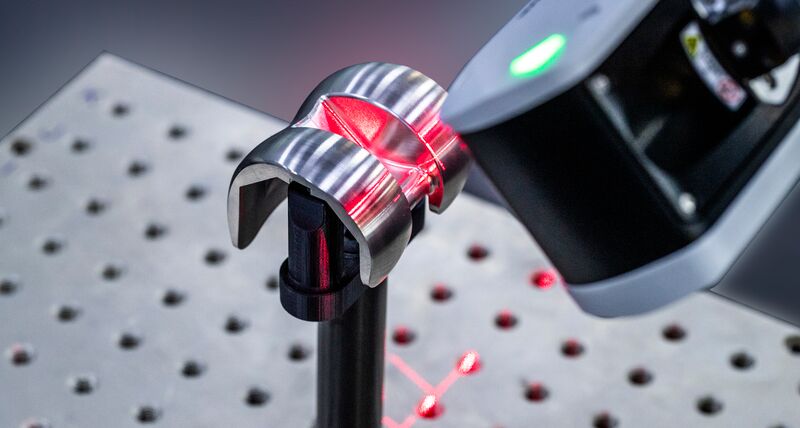
HP-C is a vision camera measurement system for CMMs. It can measure small features, sensitive or easily deformed components and deliver throughput for applications where image capture is faster than probing. It is equipped with a high-resolution camera and a built-in illumination system.

Thanks to the working distance of 110 mm and two zooming options, the HP-C is an extremely flexible solution, especially when features are too small for tactile probing.

The entire Field of View (FOV) or specific Regions of Interest (ROI) within the FOV can be used to select one or more features for measurement, such as hole diameters or edge positions. Software control of the illumination allows the user to optimise the image for each measurement. 
  • Features & benefits
    Access the small
    The HP-C uses multi-capture to collect multiple measurement features, enabling fast data capture that can be zoomed in for greater analysis of each individual feature. 

    Capture the big
    Using HP-C and PC-DMIS, the sensor is able to quickly capture and measure more features outside the field of view, greatly increasing throughput. 

    Maintain measurement accuracy
    HP-C illuminates the work area to ensure the camera captures all relevant data and features a higher resolution zoom to obtain high-precision measurement results. 

    Selectable fields of view and pixel sizes
    With HP-C, operators can choose between fields of view to measure more or larger features, or a smaller measurement area for higher accuracy. 

    Digital colour camera and sophisticated illumination
    The 3 mega pixel camera and the LED illumination system allow for most precise results even in difficult conditions. 

    Fully automatic sensor exchange
    HP-C is equipped with Hexagon’s patented kinematic joint interface, making sensor exchange a fully automatic process in combination with the HR-R sensor changing rack. This way, multiple sensors can be used for the same part and on the same machine. 

    Proven and harmonised system
    HP-C was specifically developed for use on Hexagon CMMs with Hexagon’s PC-DMIS software. All components have been tested and developed to get the most out of the complete system. 
  • Technical data


     HP-C-TS5.10  Mode 1 – Large FOV  Mode 2  Accurate 
     Product no.  GB0200-0001
     Field of view  11,7 mm x 8,7 mm   5.9 mm x 4,4 mm
     Pixel size  11,4 µm  5,7 µm 
     Frame rate (frames per second)  15  19 
     Probing error of the image probe PFV2D*  5,0 µm
     Probing error PF2D  8,0 µm
     XY Unidirectional length measurement error EUXY*  4,2 µm + L/333
     Image probe unidirectional length error EUV  3,0 µm + 1.8L
     Camera  3 Mega Pixel highspeed USB 2 digital colour camera
     Optics  f2.8 – f16 50,2mm with standard M39 X 1/26th mounting 
     Working distance  110 mm 
     Illumination  Oblique and targeted at the optical plane center 
     64 white LEDs split into 16 sectors and 2 rings
     Mounting  TKJ Hexagon Kinematic Joint (Fully auto changeable with HR-R rack) 
     Communication protocol   USB over Ethernet  

    *ISO 10360-7: 2011 “Imaging probing system” 

  • Downloads

    HP-C Vision sensor data sheet

    Download


Non-contact sensors

Optical probes expand the possible applications of a coordinate measuring machine.

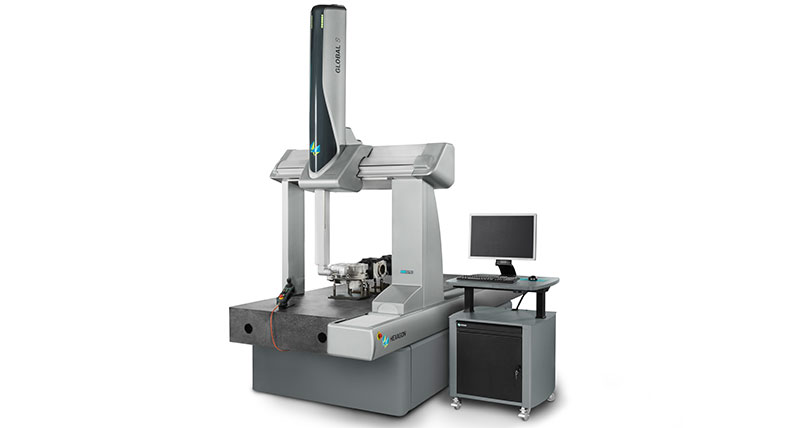
GLOBAL S

The GLOBAL S coordinate measuring machine (CMM) delivers measurement productivity tailored to your workflow, addressing the widest range of production requirements including throughput, precision, multi-purpose and shop-floor capabilities.