Quality Assurance of Electronic Components
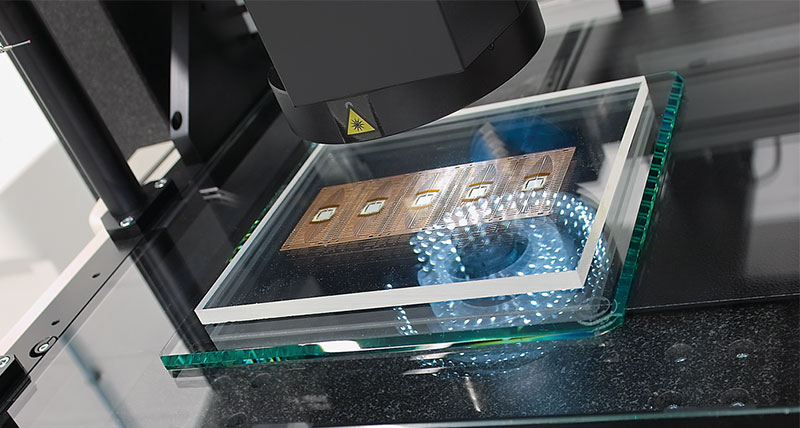
2D video inspection of lead frames.
Contact us

Lead frames are important functional elements of electrotechnical applications. They are cut from a continuous strip of material by progressive composite punches and further processed into metal-plastic composite parts during subsequent procedures. Lead frames can be designed with extremely fine web and slot widths for automated assembly with SMD electronic components.
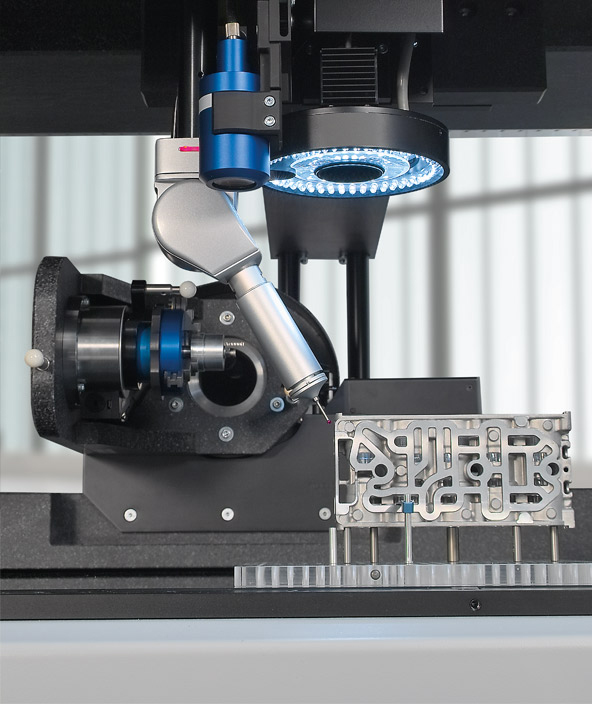
The Optiv Classic 443 coordinate measuring machine (CMM) from Hexagon Manufacturing Intelligence is ideal for monitoring their production quality. This machine’s image-processing vision sensor enables the automated, fast and high-accuracy optical measurement of lead frames from the sampling phase through to serial testing of large quantities.
Thanks to QuickFeature, the PC-DMIS CAD measurement software automatically detects the element type while the measurement process is being created when the user moves the mouse pointer over the CAD model. A click of the mouse copies the detected element to the measurement routine.
Alternatively, several elements of the same type can be selected and created in the measurement process with the MultiSelect feature by dragging with the mouse in the CAD view. The next time the measurement routine is executed, MultiCapture simultaneously measures all geometries within a camera’s field of view and optimises the entire measurement process, accelerating it considerably.
With PC-DMIS, measurement routines can also be created offline, using CAD data without a measuring machine. CADCamera simulates all aspects of the optical measurement here. The first time the program is run on the target machine, AutoTune enables the iterative adjustment of illumination, magnification and image-processing parameters.
Using a high-resolution CMOS camera in conjunction with a 10x CNC motor zoom, the Optiv Classic 443 captures the 2D geometries of the lead frames being tested with sub-pixel accuracy. Fine and tight-tolerance structures are measured with high resolution (small field of view). If the camera is to process larger contour sections in just a single image, a lower resolution is selected (large field of view). This saves valuable measuring time when carrying out palletised measurements.
The lead frame is evaluated by comparing the measuring points using CAD data. Best-fit routines which can be used to dovetail the measured points with the CAD model are available for this purpose. The area for the best fit can be defined as desired (local best fit). The measurement results are output as freely configurable test reports.
The Optiv Classic 443 combines all the required functions for the quality assurance of lead frames in a single user-friendly solution. Measurement, evaluation and logging can be automated to a large degree and carried out quickly, reproducibly and without user-originated deviations. This makes the Optiv Classic 443 the ideal alternative to measuring microscopes and profile projectors.
The Optiv Classic 443 coordinate measuring machine (CMM) from Hexagon Manufacturing Intelligence is ideal for monitoring their production quality. This machine’s image-processing vision sensor enables the automated, fast and high-accuracy optical measurement of lead frames from the sampling phase through to serial testing of large quantities.
Alignment With the Vision Sensor
First, the position of the lead frame is defined in the working volume of the measuring machine. In a few mouse clicks, the PC-DMIS QuickAlign function automatically calculates the optimum workpiece alignment using the selected geometry elements.Optical Measurement and Comparison With CAD Data
To guarantee the contact and connection function of lead frames, a number of dimensional, shape and position tolerances must be tested. This includes the width of contact webs, their spacing and angle to one another and 2D profile shapes as well.Thanks to QuickFeature, the PC-DMIS CAD measurement software automatically detects the element type while the measurement process is being created when the user moves the mouse pointer over the CAD model. A click of the mouse copies the detected element to the measurement routine.
Alternatively, several elements of the same type can be selected and created in the measurement process with the MultiSelect feature by dragging with the mouse in the CAD view. The next time the measurement routine is executed, MultiCapture simultaneously measures all geometries within a camera’s field of view and optimises the entire measurement process, accelerating it considerably.
With PC-DMIS, measurement routines can also be created offline, using CAD data without a measuring machine. CADCamera simulates all aspects of the optical measurement here. The first time the program is run on the target machine, AutoTune enables the iterative adjustment of illumination, magnification and image-processing parameters.
Using a high-resolution CMOS camera in conjunction with a 10x CNC motor zoom, the Optiv Classic 443 captures the 2D geometries of the lead frames being tested with sub-pixel accuracy. Fine and tight-tolerance structures are measured with high resolution (small field of view). If the camera is to process larger contour sections in just a single image, a lower resolution is selected (large field of view). This saves valuable measuring time when carrying out palletised measurements.
The lead frame is evaluated by comparing the measuring points using CAD data. Best-fit routines which can be used to dovetail the measured points with the CAD model are available for this purpose. The area for the best fit can be defined as desired (local best fit). The measurement results are output as freely configurable test reports.
The Optiv Classic 443 combines all the required functions for the quality assurance of lead frames in a single user-friendly solution. Measurement, evaluation and logging can be automated to a large degree and carried out quickly, reproducibly and without user-originated deviations. This makes the Optiv Classic 443 the ideal alternative to measuring microscopes and profile projectors.
