Accelerated turbine blade measurement
Reduce measurement cycle times with SENMATION SX
Contacto
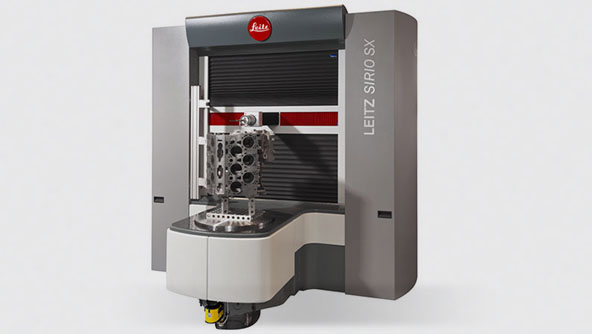
Highly complex and time-sensitive manufacture of turbine blades requires fast measurement directly within the manufacturing process. Time-optimised blade measurement can be carried out with the Leitz SIRIO BX from Hexagon Manufacturing Intelligence in the manufacturing environment. Critical alignment on the blade root will be executed with the tactile HP-S-X1C probe system, whilst profile measurement is carried out with the PRECITEC SE optical sensor in order to reduce measurement cycle times.
Good part accessibility and stable measurement data
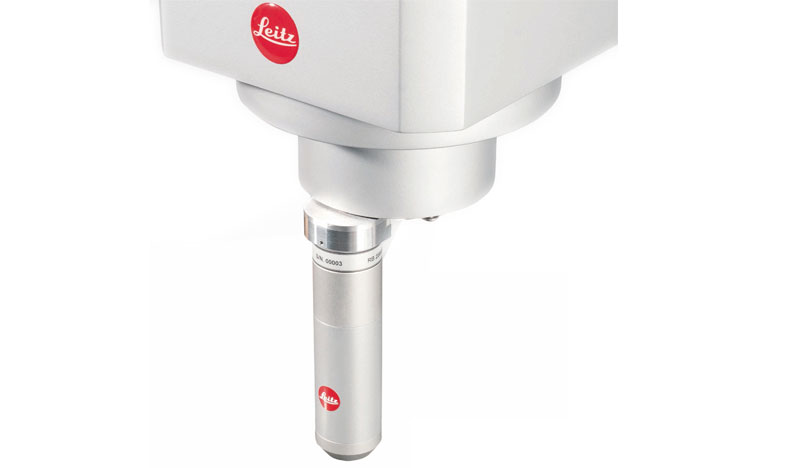
The tactile HP-S-X1C probe system is changed via the automatic SENMATION SX sensor interface. This sensor is used for alignment on the blade root. Measuring points must also be recorded under the root, which can be determined with the tactile sensor in a manner that is both stable and reliable. The alignment quality is the foundation for all further measurements, so a high degree of accuracy is vital.
Fast blade profile measurement for increased measurement throughput
Alignment is followed by profile measurement. The tactile sensor is located in the changer rack and the PRECITEC SE optical sensor is used. The sensor change is executed quickly whilst having no effect on the measurement cycle time. The sensor is ready for immediate use, unless no calibration is required. Blade measurement is carried out in a number of profile sections, with measuring speed being the critical parameter in the measuring process. The PRECITEC SE optical sensor not only enables pressure and suction side to be measured with extremely high speed and excellent point density, but also the leading and trailing edge. The optical sensor’s large measurement range ensures that the profile can always be measured.
Form and roughness measuring in one step
Recording profile sections with the PRECITEC SE has the benefits of high point density and accuracy. These are the perfect conditions for assessing both the form and the roughness of a profile. QUINDOS measuring software enables users to assess all parameters and create a graphical representation. With the SENMATION SX sensor interface, users can carry out the tactile measurement of a blade root and optical, highspeed profile measurement in a single automated measuring procedure. This combination results in a significant reduction in measurement cycle time, while maintaining a high degree of accuracy and precision.

