Fast electronic volumetric compensation of machine tools with metrology hardware and specialised alignment software
Dr Raimund Loser
Contact us
Abstract
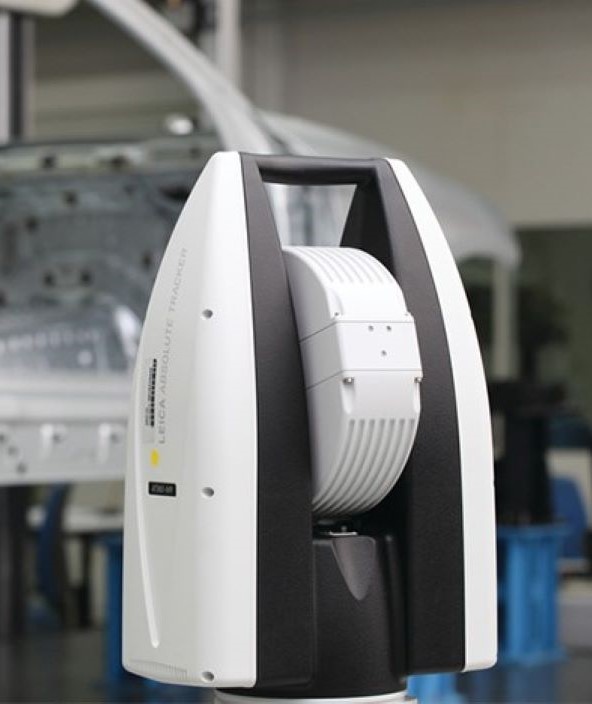
For measuring machines and machine tools, geometrical accuracy is a key performance criterion. While numerical compensation is well established for CMMs, it is increasingly used on machine tools in addition to mechanical compensation. Why produce defective parts if production machines can be tested and improved at the beginning of the process? Find out how to reduce scrap, improve quality and increase productivity with dedicated fast electronic volumetric compensation using a specialised laser tracker and software solution.
Guaranteeing the quality of manufactured parts is crucial when it comes to avoiding scratch, machine downtime or delays in the production. It all depends on machine accuracy, which comes down to the importance of keeping the machine within its required tolerances. Between incorrect setup and worn out or damaged parts, there are a number of factors that can push a machine out of tolerance, resulting in the production of parts below the expected level of quality.
Traditional methods of checking performance using a linear laser interferometer are accurate, but very time consuming, blocking the machine from use for many hours. In addition, these methods require specific hardware that cannot be used for other purposes. Electronic volumetric compensation using metrology hardware combined with a specialised software solution offers a new way to not only accelerate the process but also offer a reliable correction solution.

